Post Installation Tasks
Launching Kony Visualizer Classic
The installer creates shortcuts to the Kony Visualizer on the desktop and in the install folder. You can launch Kony Visualizer using the shortcut.
To launch Kony Visualizer, follow these steps:
- Double-click the
Kony Visualizershortcut on the desktop.Note: You could also navigate to the folder where Kony Visualizer is installed and double-click the
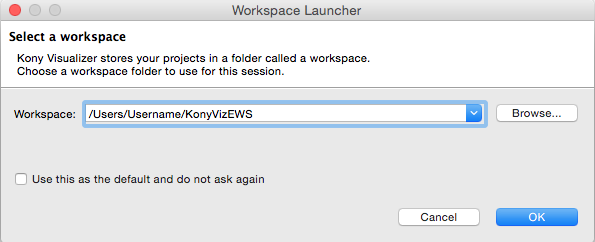
Kony Visualizershortcut to launch Kony Visualizer. - The Workspace Launcher window appears.

A workspace is a folder on the hard drive, which is a central repository of all application files. The applications you create in the IDE are saved in the workspace. A workspace can have any number of applications. The default workspace has some sample applications.
- The default workspace is
/users/<username>/KonyVizEWS.It is a good idea to choose this workspace as this contains the sample applications to start with. The workspace is created only once, even if you install multiple instances of Kony Visualizer and is not deleted when you uninstall Kony Visualizer (allowing you to use the applications created in the workspace in another instance of Kony Visualizer).
If you are an advanced user, you can create your own workspace.
- Click OK. The launch process continues.
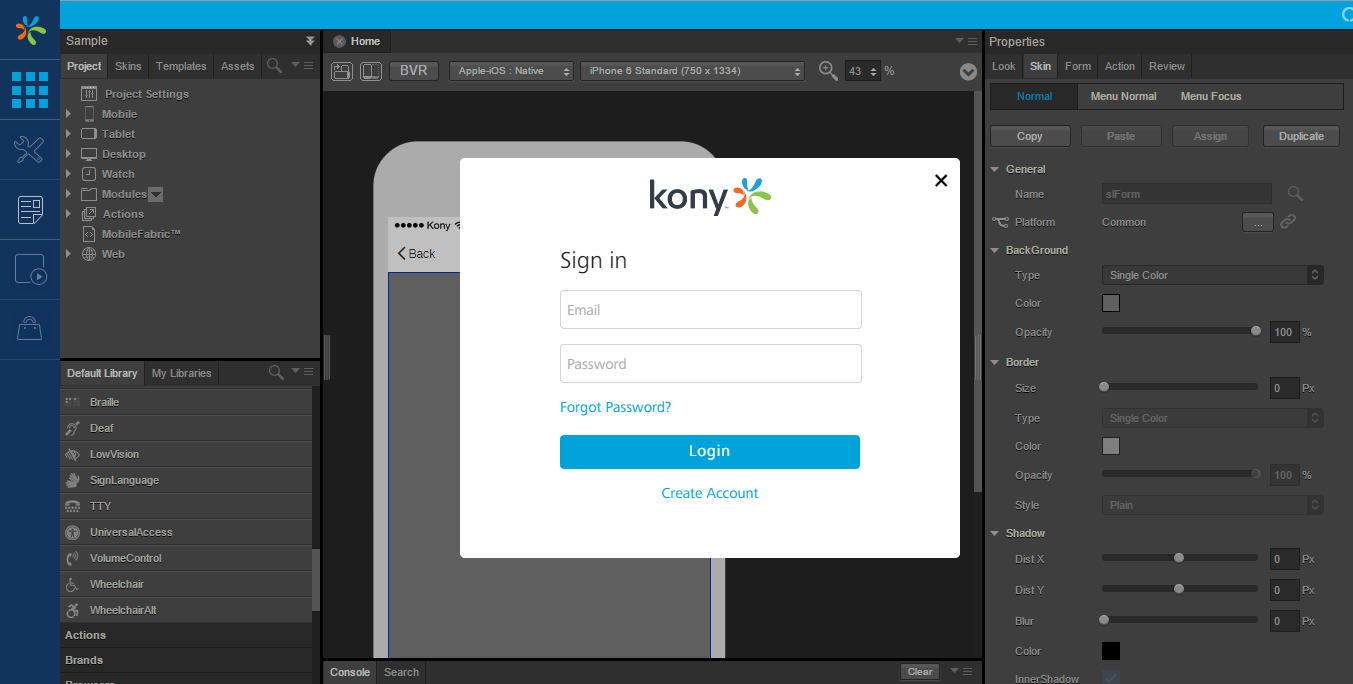
- On launching Kony Visualizer Enterprise, Kony Cloud Sign in screen appears for license validation.
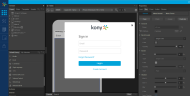
- Enter your Kony Cloud credentials and click Login. Kony Visualizer Enterprise validates the Enterprise license associated with your Kony Cloud account.
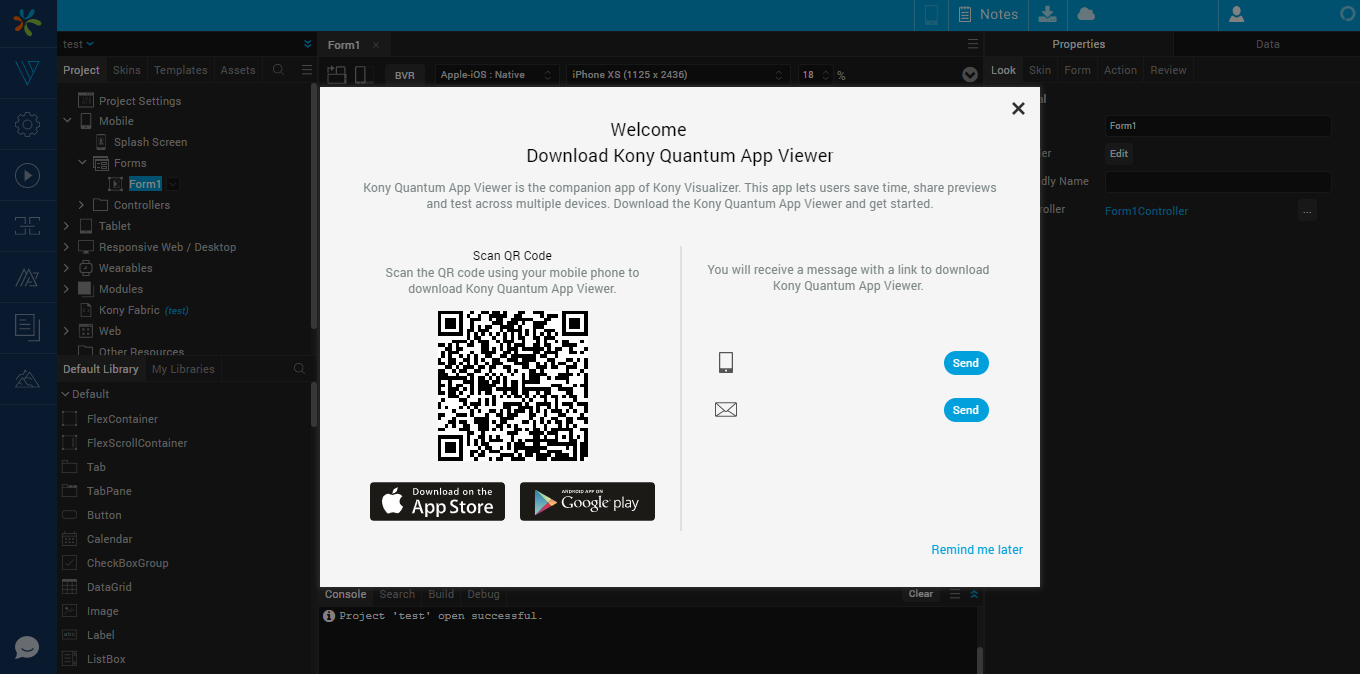
- Next, a Download Kony Quantum App Viewer screen appears.
The screen provides a QR code to download the Kony Quantum App Viewer application. Scan the QR code to download the app. - Next, a welcome screen appears. The welcome screen displays links to videos that explain the features of Kony Visualizer.
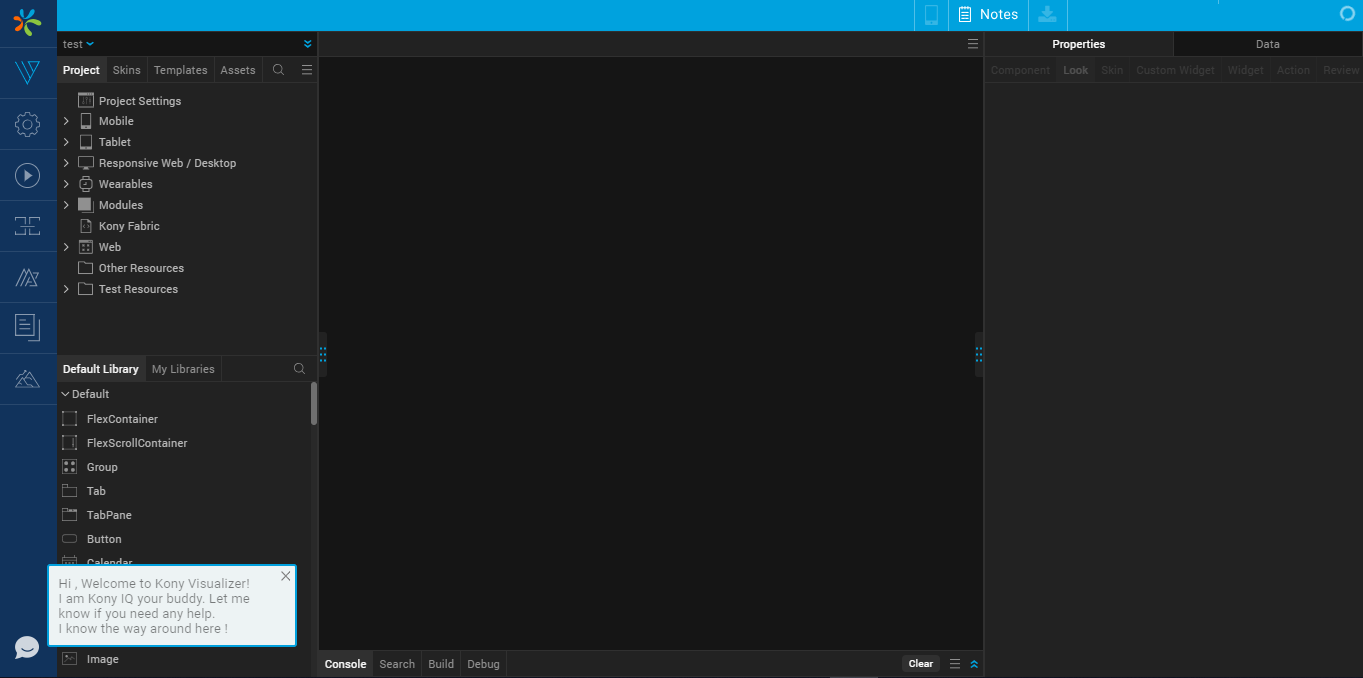
- Close the welcome screen. Next, the Kony IQ bot gets activated. Use the bot to guide you in the process of developing applications in Kony Visualizer.

- After the Kony IQ bot disappears, a Sample application loads in the application canvas.
Note: The QR code is developed using a third party library, QRCode.js (version 0.0.1 & license). This is not bundled with the app. This library is bundled with Kony Visualizer Installer.

Note: For more information on working with Kony Visualizer, see http://docs.kony.com/konylibrary/visualizer/visualizer_user_guide/Default.htm
Update Kony Visualizer Enterprise
This part of the Kony Visualizer Install Guide provides you with the information you need to update Kony Visualizer.
Auto Update Process
This section explains about the auto update feature in Kony Visualizer.
Kony releases an update package with consolidated plug-ins on a regular basis. When Kony releases an update, you will receive an update notification on Visualizer instance which prompts you to update Kony Visualizer. There are two kinds of updates – mandatory and non-mandatory. The grace period for mandatory updates is five days. For non-mandatory updates, there is no grace period, however, you will see clear visual indication of how out of date your visualizer is. Automatic updates can be turned off but this is not recommended because this causes visualizer to go out of sync with regular product updates.
| Update Type | Early User | Moderate User | Late User |
|---|---|---|---|
|
Mandatory After the grace period, the user is forced to upgrade. Visualizer does not allow the user to perform any actions unless they update Visualizer. |
A prompt appears immediately (when the update is available) with five days grace period to update. |
A prompt appears after 30 days (when the update is available) with five days grace period to update. |
A prompt appears after 60 days (when the update is available) with five days grace period to update. |
|
Non-mandatory Visualizer displays a ticker that an update to Visualizer is available. |
A prompt appears immediately (when the update is available). The ticker also displays the time lapsed when your Visualizer was last updated. |
A prompt appears after 30 days (when the update is available). The ticker also displays the time lapsed when your Visualizer was last updated. |
A prompt appears after 60 days (when the update is available). The ticker also displays the time lapsed when your Visualizer was last updated. |
For Mandatory users, to receive auto update notifications, ensure the following:
- You are connected to the Internet.
- The current license is still valid to upgrade Kony Visualizer.
To access the auto update settings in Kony Visualizer, follow these steps:
- Launch Kony Visualizer.
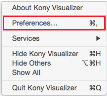
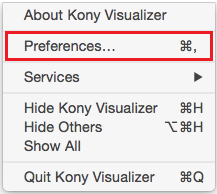
- On the Kony Visualizer menu, click Preferences. The Preferences pane appears.
- Click Updates from Kony Visualizer drop-down. The Updates pane appears.
The pane displays a list of options which enable you to update Kony Visualizer according to the respective time lines. These settings apply only for non-mandatory updates. The default value is Moderate, but you can choose Early to receive updates immediately upon release and Late to receive an update after 60 days of the plugin's release.
If you have chosen Moderate or Late as your option, you can still install the latest plugin by going to Help > Check for Updates and download the latest update if available.
If you want to disable the auto update feature, check the Turn off auto updates option. Turning off auto updates will ensure that no forced updates occur. This is not recommended as mentioned before.
Note: Even if you turn off the Auto updates, you will still receive a reminder every time you launch Kony Visualizer that you are xx days out of date.
- Click Apply.
- Click OK to dismiss the Preferences pane.
- Restart Kony Visualizer for the changes to take effect.

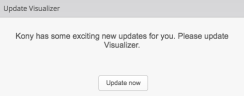
Note: Kony Visualizer displays a notification when the new updates are available.
To update Kony Visualizer, follow these steps:
- Click Update Now on the notification bar. The Install pane appears.
For mandatory updates, you can skip the update for five days. After five days, you must update to access the build features in Kony Visualizer.

When you click View Release Notes, information on New Features, a list of Fixed issues, and Known issues (if any) for the recommended Kony Visualizer update appears in a web browser.

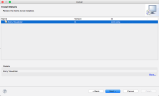
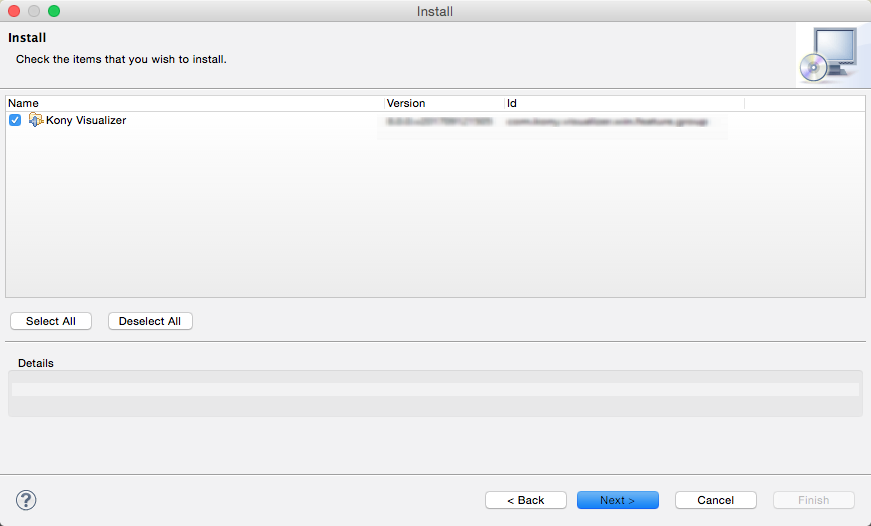
- The Install pane displays a list of upgrade items.
Check the items that you wish to install and click Next. The Install Details pane appears.
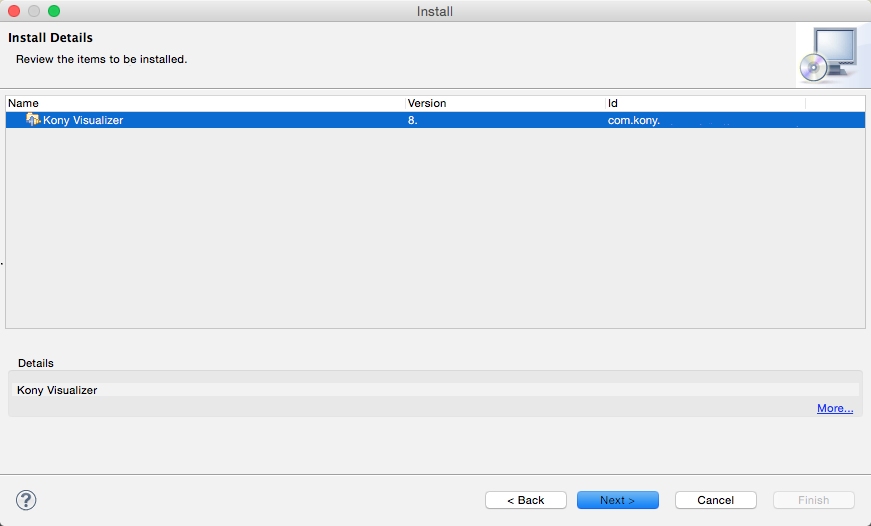
- The Install Details pane displays a list of upgrade items that you have checked.
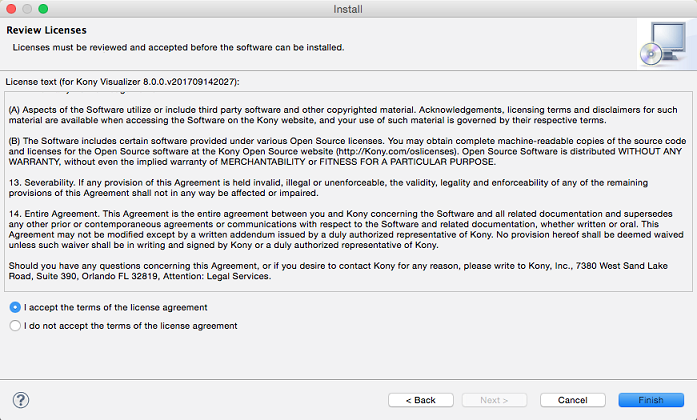
- Review the upgrade items and click Next. The Review Licenses pane appears.
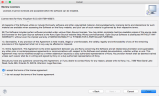
Read the License Agreement. If you accept the terms of the agreement, click I accept the terms of the License Agreement.
Click Finish. -
The Installing Software pane appears.

- After the process is complete, a confirmation window appears with a message You will need to restart Kony Visualizer for the changes to take effect. Would you like to restart now?
- Click Yes to restart Kony Visualizer.


Important: If you are a mandatory user and if you do not update Visualizer within the stipulated time period, you will not be able to use Visualizer.
Memory Cleaning
In this section you will understand how to remove any older versions of Kony Visualizer.
In case you feel that the Kony Visualizer is occupying a lot of space, you can reduce the bloat by using the plugin-cleaner.jar.
This plugin is available at <Visualizer Enterprise installation>\ cleanup-tool\plugin-cleaner.jar
Usage of the plugin
In order to use this plug-in we can use Eclipse environment and type the following instructions:
java -jar plugin-cleaner.jar [-d <destination>] [-h] [-r] [-v < version>]
The symbols used are:
- -d, --destination <destination>: Path to the folder where all unused plug-ins will be moved. The default is the absolute path to <source>/duplicates-<timestamp>.
- -r, --remove: Removes unused plug-ins.
- -t, --test: Enables a dry run mode, where, no action will be taken. The clearing action can be reverted.
- -v, --version: Used to specify the Visualizer Enterprise version. For example, -v 8.1.0(make sure that you provide the correct version of Visualizer.)
- -h, --help: Shows help.
To see the available Visualizer versions:
Open Help->About Kony Visualizer-> Choose the version of your choice. (For example: Version 8 Service Pack 1 Fix Pack 8 = 8.1.8)
To backup unused plug-ins: java -jar plugin-cleaner.jar -d "backup" -v “8.X.X”
To delete unused plug-ins: java -jar plugin-cleaner.jar -r -v “8.X.X”
Known Limitations of the plugin
- After you do the cleanup of plug-ins using this tool, navigate to Eclipse, choose `Window > Show View > Error Log` and check if any required bundles are missing as you have completed the cleanup. If so, simply move the missing required plug-ins from the unused plug-ins folder back to your Kony_Visualizer_Enterprise\plugins folders.
- This script should be used only when you are on the latest version of Visualizer Enterprise and not on a reverted version. The script will stop if you are on a lower version.
Revert to Previous Version
Using the Revert feature, you can rollback to the previous versions of Kony Visualizer.
To revert to older versions, ensure the following:
- You are connected to Internet.
- Current license is still valid to upgrade Kony Visualizer.
- Valid credentials to access the Kony Community Portal.
To revert to the previous plug-ins of Kony Visualizer:
- Open Kony Visualizer Enterprise.
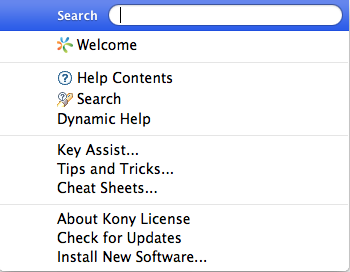
- On the Help menu, click About Kony Visualizer.
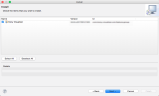
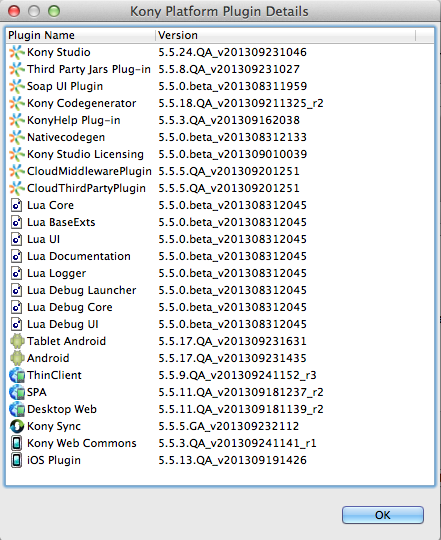
- The About Kony Visualizer window appears. Click View Installed Plugins.
- The Kony Visualizer Installation Details window appears. In the Installed Software tab, the current installed version of Kony Visualizer is detailed. For example, you can see the plug-ins version that were upgraded in the above procedure.

- Go to Applications > Kony > Kony_Visualizer > plugins folder on your system and replace all the new plugins with the older plugins.
- Close and reopen the Kony Visualizer. You will be reverted back.
- A confirmation window appears with a message This operation required restarting the workbench. Would you like to proceed?. Click Yes to proceed.
- After the process is completed, a confirmation window appears with a message You will need to restart Kony Visualizer for the changes to take effect. Would you like to restart now?. Click Yes to restart Kony Visualizer.
For details on how to uninstall the Kony Visualizer application from your system, you can refer to Uninstall Kony Visualizer Enterprise.